Prikazani su postovi s oznakom tutorial. Prikaži sve postove

utorak, 27. prosinca 2011.

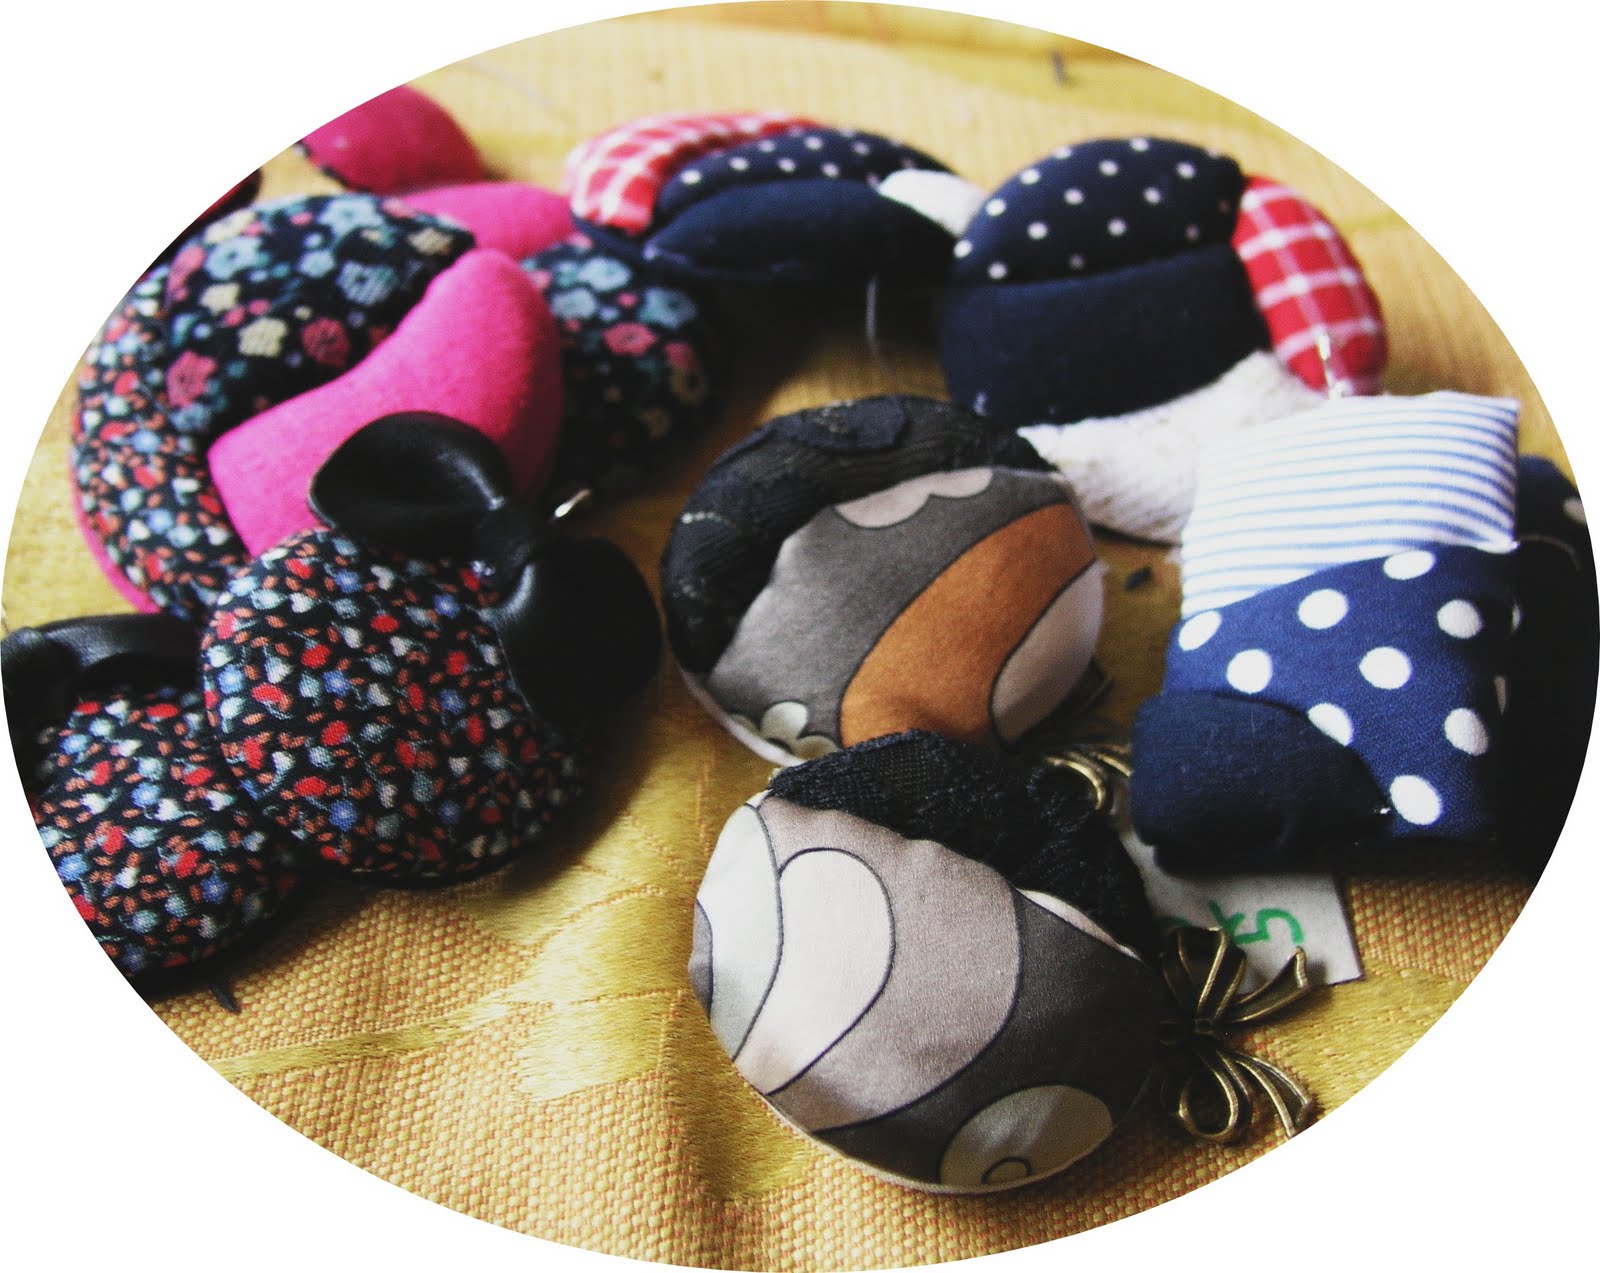
DIY the sweetest and softest earrings ever tutorial

Hi guys!
Merry Christmas everyone
! (with some delay) Sorry I didn't had time to write a post before, but now I will repay you with an interesting tutorial
:D
If you want to learn how to make the sweetest and softest earrings ever you're in the right place!
You will need some fabric...
..thin cardboard and sponge, and the idea!

First part of the board (kind of earrings you want to be) cut four times, for each earring two.Leave one piece whole, and cut the other in desired pieces as well as a sponge.
Select the fabric you want for your earrings and cut for each piece separately.
Sift the needle and thread along the edge and "dress" sponge and cardboard as shown in picture.
..make the same thing with all the pieces..
..and paste them onto the main surface..

..put the earring and one is over! Do the same thing with the other.
If you want something simpler here's another idea..


Let your imagination run wild and create your own soft and cute earrings! :)

xoxo
P.

subota, 22. listopada 2011.

diy combs tutorial

I saw this idea with the thread and combs on the Internet, and I really liked it so I decided to do it myself, and of course, I added some of my ideas :)
It looks so cute. I love them!

xoxo,
P.

subota, 8. listopada 2011.

diy weaving tutorial

Each fabric is formed by weaving, by hand or mechanically, on weaving loom.
Although it seems like a difficult process, it is not. The preparation for weaving is heavier and longer than weaving. Once you begin to weave the sky is the limit.
Today I will show you the principle of weaving on a frame. Tapestries are weaved is in this way.
I don't have the frame at home and I assume neither do you :D so we can make it ourself like this :
Take the cardboard and cut short cutouts at the same distances as in picture:Take the material with which you'll work (wool, cotton,...) and put it in a cutout. Paste it on the back of carton.Run the material through the cutouts until you get this:
These lines are called the basics.
Then take another piece of cardboard and cut it as shown in the first picture. Lift each other basic and put cardboard under them.Take the material with which you will weave, this is called a weft. Lift every other basic and pass the weft underneath. When you do this again take every other basic but the contrary of the first. So the first time lift up the basics that are on the third painting marked in orange, the second time lifting brown, then lift orange and then brown again,and so on and so on ...
After several repetitions you should have this:
After a few lines you can put some more detail:When you are finished side facing toward you is the wrong side..
So you need to cut the base..
And your mini tapestry is finished :D
xoxo,
P.

subota, 1. listopada 2011.

cardboard flowers drawing tutorial

Flowers are always easy to draw, but if you don't like your drawing or you're tired of the classic drawing here's another way to decorate your wall, bag, shirts, etc.

Take the cardboards of various thicknesses, cut them into a long rectangle and wrap it as shown in picture and tape it around when you're done:Take a little color and dip your roller into it..
..and press it onto the surface (paper, carton, bag, shirt, ..) and draw the blade.
And your masterpiece is done :D

xoxo,
P.

četvrtak, 29. rujna 2011.

DIY zip me necklace tutorial

Zipper jewelry has been popular for a while now, you can see it in all sorts of versions and ideas so here's one from me :)

Take a zipper and split it, then glue it as shown in picture. Do the same thing with other side too.
When you're done glue them together..
Put it on a strip or whatever you want and your necklace is finished :)

Necklace itself is simple yet striking, but you can decorate it with beads or flowers according to your wishes :)

xoxo,
P.